
Planning Your DIY Music Video
Setting a Budget
Before diving into production, it’s crucial to establish a budget. This will help you make informed decisions about equipment, locations, and other resources. Remember, a higher budget doesn’t always guarantee a better video; creativity and resourcefulness often play a more significant role.
Conceptualizing Your Video
The concept is the heart of your music video. Start by brainstorming ideas that align with the message of your song. Think about the emotions you want to convey and how you can visually represent them. Once you have a solid concept, you can begin to develop a storyline or theme.
Storyboarding and Shot List
Creating a storyboard helps visualize your concept. Sketch out each scene, noting the camera angles and movements. A shot list is equally important as it outlines every shot you need to capture, ensuring you don’t miss anything during filming.
Essential Equipment for DIY Music Videos
Cameras: Options for Every Budget
You don’t need a Hollywood-grade camera to shoot a great music video. Many artists use DSLRs or even high-end smartphones. Cameras like the Canon EOS Rebel or Sony Alpha series offer excellent quality at a reasonable price.
Lighting: Making the Most of What You Have
Lighting can make or break your video. Utilize natural light whenever possible, and consider affordable options like LED ring lights or softboxes to enhance your setup. Experiment with different lighting techniques to create mood and depth.
Audio: Capturing Quality Sound
While your primary focus is visual, don’t neglect audio quality. Using an external microphone can significantly improve the sound captured during performance shots, making your video more professional.
Location Scouting and Set Design
Finding the Perfect Location
The location sets the tone for your video. Look for spots that complement your song’s theme. Public parks, urban streets, and even your home can be great locations. Ensure you have permission to shoot, especially in public or private spaces.
Designing Your Set on a Budget
Set design doesn’t have to be expensive. Use everyday items creatively to enhance your set. Props, furniture, and backdrops can transform a simple location into a visually appealing set.
Assembling Your Team
Roles to Consider: Director, Cameraperson, Editor
While you can go solo, having a small team can ease the process. A director helps with creative decisions, a cameraperson handles the technical aspects, and an editor polishes the final product.
Working with Friends and Family
Involving friends and family can be cost-effective and fun. Ensure everyone understands their role and what is expected to maintain professionalism.
Pre-Production Preparation
Scheduling Shoots
Plan your shoot dates well in advance. Consider the availability of your team and locations, and prepare for possible weather changes if you’re filming outdoors.
Securing Permits and Permissions
Obtaining the necessary permits and permissions is crucial to avoid legal issues. Research the requirements for your chosen locations and ensure you have all the documentation in order.
Preparing Wardrobe and Props
Wardrobe and props enhance your video’s visual appeal. Choose outfits that reflect your song’s style and theme. Collect all necessary props ahead of time to avoid last-minute rushes.
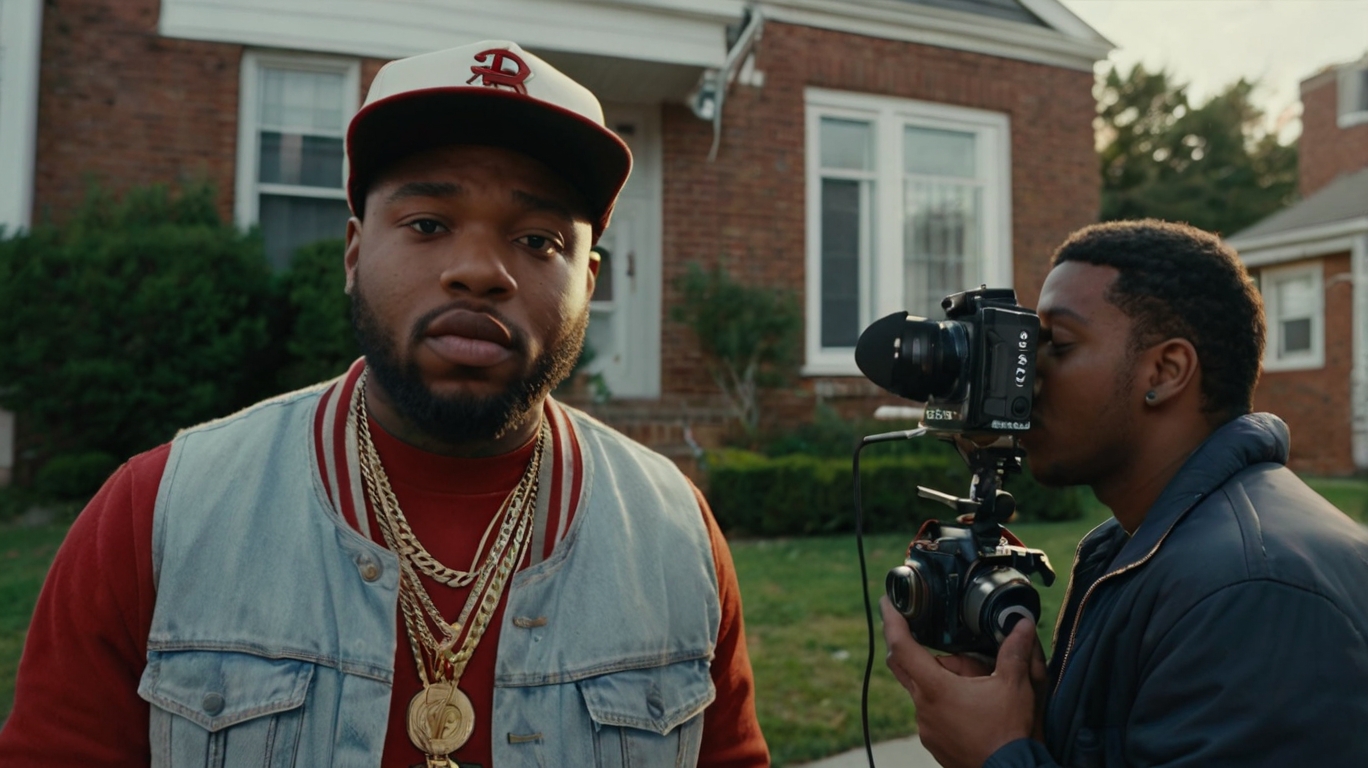
Shooting Your DIY Music Video
Tips for Effective Filming
Start with wide shots to establish your location, then move to medium and close-up shots to capture details. Keep your camera steady, and use a tripod if possible. Experiment with different angles and movements to add variety.
Overcoming Common Challenges
Expect challenges like bad weather or technical issues. Stay flexible and have backup plans. Quick problem-solving and adaptability are key to a successful shoot.
Capturing B-Roll Footage
B-roll footage adds depth and context to your video. Capture shots of the surroundings, props, and candid moments to enrich your story.
Directing Tips for Artists
Getting the Best Performance
As the artist, your performance is crucial. Be expressive and connect with the camera as if it’s your audience. Practice your performance multiple times to ensure you’re comfortable on camera.
Communicating Your Vision
Clearly communicate your vision to your team. Share your storyboard and shot list, and be open to their suggestions. Effective communication ensures everyone is on the same page.
Post-Production Process
Editing Your Video
Editing brings your footage to life. Use software like Adobe Premiere Pro or DaVinci Resolve. Start with a rough cut, then refine by trimming, adding transitions, and synchronizing your audio.
Adding Effects and Transitions
Effects and transitions can enhance your video’s flow. Use them sparingly to maintain a professional look. Tools like After Effects can add a cinematic touch to your project.
Color Grading Basics
Color grading adjusts the colors in your video to create a consistent look. Software like DaVinci Resolve offers powerful color grading tools. Experiment with different looks to match the mood of your song.
Incorporating Animation and Visual Effects
DIY Animation Tools
Animation can add a unique element to your video. Tools like Blender and Adobe Animate allow you to create simple animations. Tutorials are available online to guide you through the process.
Simple Visual Effects for Beginners
Visual effects can elevate your video. Start with basic effects like text overlays and lens flares. As you gain confidence, experiment with more complex effects.
Music Synchronization
Syncing Your Performance to the Track
Synchronizing your performance with the track is crucial for a professional look. Use markers in your editing software to align your footage with the audio.
Tips for Perfect Timing
Perfect timing requires practice. Play your track during the shoot to ensure your lip-syncing matches. In post-production, fine-tune the alignment for seamless synchronization.
Publishing Your Music Video
Choosing the Right Platform
Platforms like YouTube, Vimeo, and social media are great for sharing your video. Each platform has its own strengths, so choose the one that best suits your audience.
Optimizing for YouTube and Social Media
Optimize your video by using relevant keywords, tags, and a compelling thumbnail. Engage with viewers by responding to comments and promoting your video on all your social channels.
Promoting Your DIY Music Video
Social Media Strategies
Leverage social media to promote your video. Share behind-the-scenes content, teasers, and engage with your audience. Use hashtags to reach a broader audience.
Collaborating with Influencers
Collaborating with influencers can boost your video’s reach. Choose influencers who align with your music style and have a genuine interest in your work.
Analyzing the Success of Your Video
Key Metrics to Track
Track metrics like views, likes, shares, and comments to gauge your video’s performance. Analytics tools provided by platforms like YouTube can offer deeper insights.
Using Feedback for Future Projects
Feedback is invaluable. Listen to your audience’s comments and use their input to improve future projects. Continuous improvement is key to long-term success.
Conclusion
Creating a DIY music video is a rewarding experience. It allows you to express your creativity and connect with your audience on a deeper level. Remember, the key to a successful video is planning, creativity, and perseverance. Don’t be afraid to experiment and learn from each project. With dedication and effort, you can create music videos that resonate with your fans and enhance your music career