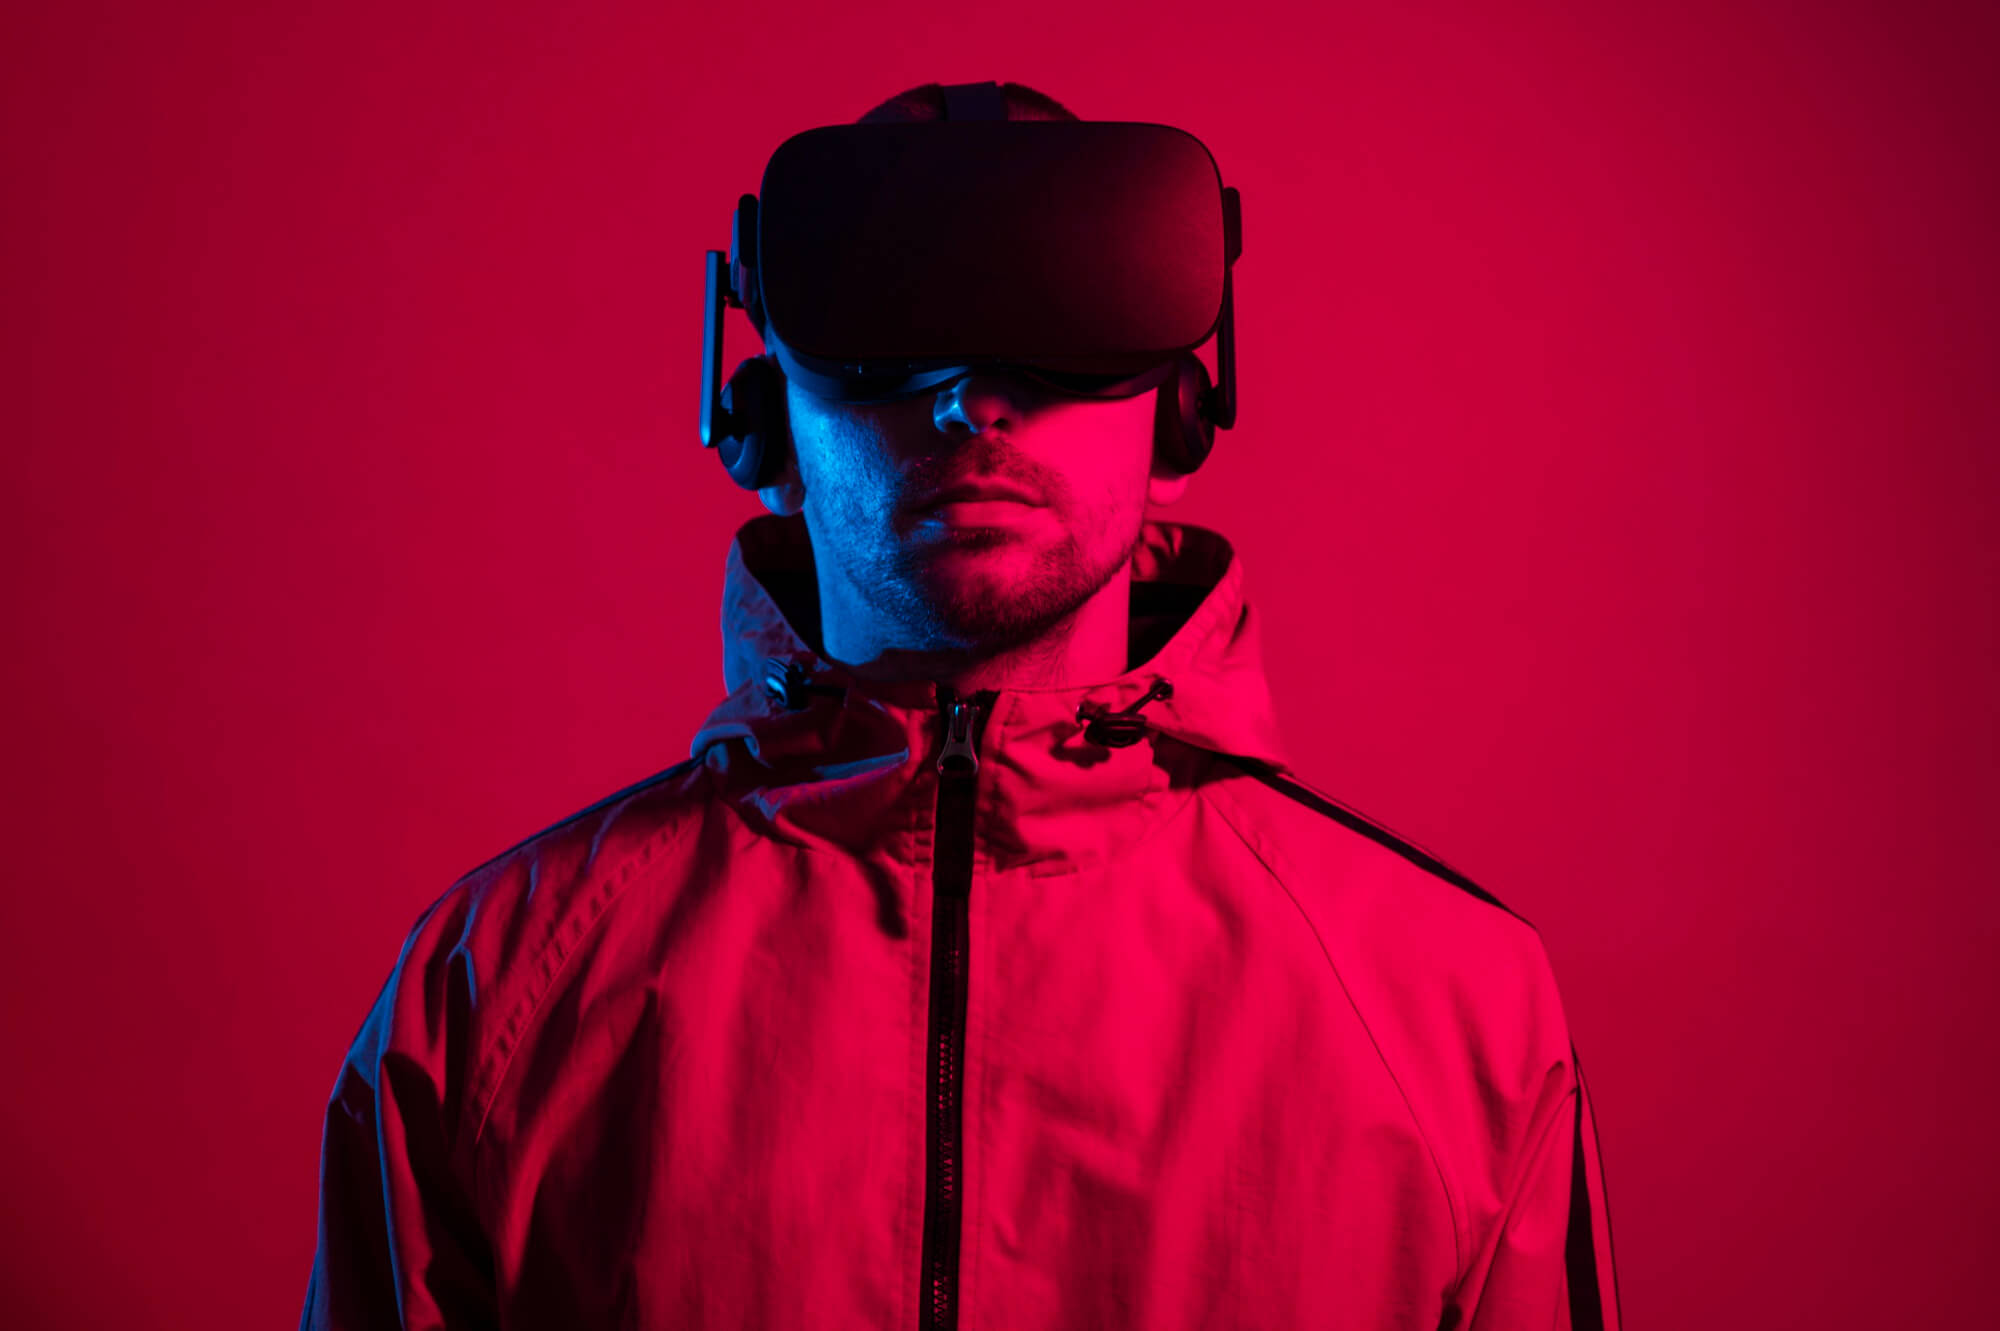


🎤 Why Budget Recording Matters
Let’s be honest—music gear can get expensive fast. From studio monitors and interfaces to plugins and acoustic foam, the list never seems to end. But here’s the truth:
You don’t need a fancy studio to make impactful music. You need focus, strategy, and the right essentials.
Some of the most streamed indie records of the past few years were made in bedrooms, closets, even cars. What made them hit wasn’t price tags—it was emotion, clarity, and execution.
This post breaks down what really matters when you’re recording on a budget—so you can stop overthinking and start producing.
🎯 The Mindset First: “Perfect” Isn’t the Goal
Before we even get into gear, let’s reset your mindset.
If you’re waiting for the perfect mic or a “real” studio to start recording, you’re missing opportunities every day.
- Great songs connect even with rough mixes.
- Real fans care more about your message than your mastering chain.
- Consistency builds momentum faster than chasing flawless audio.
Start now. Improve as you go.
🔑 What Actually Matters (and What Doesn’t)
Let’s break it down—what you need vs. what can wait.
✅ 1. A Quiet, Controlled Space
Before any mic or software, this is #1.
A $100 mic in a quiet space sounds better than a $1,000 mic in a noisy room.
Budget-Friendly Fixes:
- Record in a closet with clothes hanging (natural sound absorption)
- Use blankets or moving pads on walls
- Shut off fans, fridges, and ACs temporarily
- Record at night or during off-hours
This one shift can drastically upgrade your vocal quality—for free.
✅ 2. A Decent Microphone (Under $150)
You don’t need a $500+ mic. Just one that captures your voice cleanly.
Budget Microphones That Deliver:
- Audio-Technica AT2020 – Industry standard starter ($99–$120)
- Shure SM58 – Rugged and reliable for live + studio ($99)
- Maono PD400X – Dual XLR/USB, great clarity and price ($129)
- Samsung Q2U – USB/XLR combo mic with solid warmth ($70–$100)
USB vs. XLR:
USB is plug-and-play (perfect for beginners).
XLR gives you more flexibility later with interfaces.
✅ 3. A Solid Audio Interface (If Using XLR)
If you go with an XLR mic, you’ll need an interface to get sound into your computer.
Great Entry-Level Interfaces:
- Focusrite Scarlett Solo/2i2 – Industry favorite ($120–$160)
- M-Audio M-Track Solo – Very affordable, solid quality ($50–$80)
- Behringer UMC22 – Reliable budget option ($40–$60)
Note: If you’re strictly USB, you can skip this expense altogether.
✅ 4. Free or Low-Cost DAWs (Recording Software)
Your Digital Audio Workstation (DAW) is where the magic happens.
Free DAW Options:
- Cakewalk by BandLab (Windows only) – Pro-level tools, totally free
- GarageBand (Mac/iOS) – Easy and clean for demos and full songs
- Tracktion T7 – Fully featured and no cost
Affordable Upgrades:
- Reaper – Only $60 for personal use, pro-grade tools
- FL Studio Fruity Edition – Popular for beats, $99 entry point
- Studio One Artist – Often comes free with interface bundles
✅ 5. Headphones Matter More Than Monitors
Monitors are nice—but on a budget, invest in good headphones first.
Why? You’ll record cleaner vocals and mix with more detail in a controlled sound environment.
Budget Headphones That Deliver:
- Audio-Technica ATH-M40x – Great isolation, flat response (~$99)
- Sony MDR-7506 – Trusted by engineers for decades (~$99)
- AKG K240 – Semi-open, balanced for mixing (~$69)
❌ What Can Wait (Until You’re Ready to Scale)
✖️ Expensive Plugins
Stick to free VSTs and stock plugins. You’ll be shocked how far they go.
Free Plugin Gold:
- TDR Nova – Dynamic EQ
- Valhalla Supermassive – Reverb/echo heaven
- iZotope Ozone Elements (often free on promo)
✖️ Acoustic Foam Kits
They look pro, but don’t always work unless used correctly. Blankets and clothes work just as well when positioned smartly.
✖️ Studio Monitors
Great long-term, but solid headphones > cheap monitors early on.
🎬 The Real Recording Process (Budget-Friendly)
Here’s a workflow for your next track—from zero to release:
Step 1: Set Up Recording Space
- Use closet or dead-sounding corner
- Drape blankets to kill reflections
- Face away from walls when recording
Step 2: Record Clean Vocals
- Use pop filter (or DIY one with pantyhose and hanger)
- Stay 5–6 inches from mic
- Record multiple takes
- Leave 3–5 seconds of silence for noise profiling
Step 3: Mix With Intention
- Use EQ to clean lows and harsh highs
- Use compression to level vocals
- Add subtle reverb and delay for depth
- Use reference tracks to match vibe/volume
Step 4: Test the Mix
- Play on headphones, car speakers, laptop, etc.
- Fix anything that sounds “off” on multiple systems
🧰 Top Free Tools to Elevate Your Budget Recordings
- BandLab (Mobile/Desktop) – Record, edit, collaborate
- Canva – Make cover art, press kits
- LANDR or BandLab Mastering – Free automatic mastering tools
- Koji / Beacons / Linktree – Smart bio link for releases
- TikTok / IG Reels – Free marketing tools with MASSIVE reach
💡 Bonus Tips for Indie Artists on a Budget
1. Work With What You Have
The goal is progress—not perfection. Don’t let gear be your excuse.
2. Batch Content
Record multiple hooks, verses, or freestyles in one session. Save time and maximize your setup.
3. Collaborate With Producers Online
Sites like BeatStars, Airbit, and YouTube are full of talented beatmakers who offer free or affordable leases.
4. Keep Everything Organized
Use Google Drive or Dropbox to save session files, lyrics, drafts, and masters.
📈 What Happens When You Stop Waiting on Gear
When you stop making budget excuses and just start creating, you:
- Learn faster
- Grow your catalog
- Get more confident
- Start building fans around the vibes, not the “quality”
The best music often comes from limitation, not perfection.
🏁 Final Thoughts
Recording on a budget doesn’t mean settling for less—it means getting clear on what matters.
Focus on clean vocals, powerful songwriting, a solid DAW, and consistent releases. You’ll stand out more with raw truth than with overpolished nothingness.
So instead of waiting to hit the studio, turn your closet into one.
Want help picking the best gear under $200 or setting up your recording workflow? DM @AlwaysBeOGMedia and let’s build something from nothing.
Your voice matters. Your sound can cut through. Start recording today.