


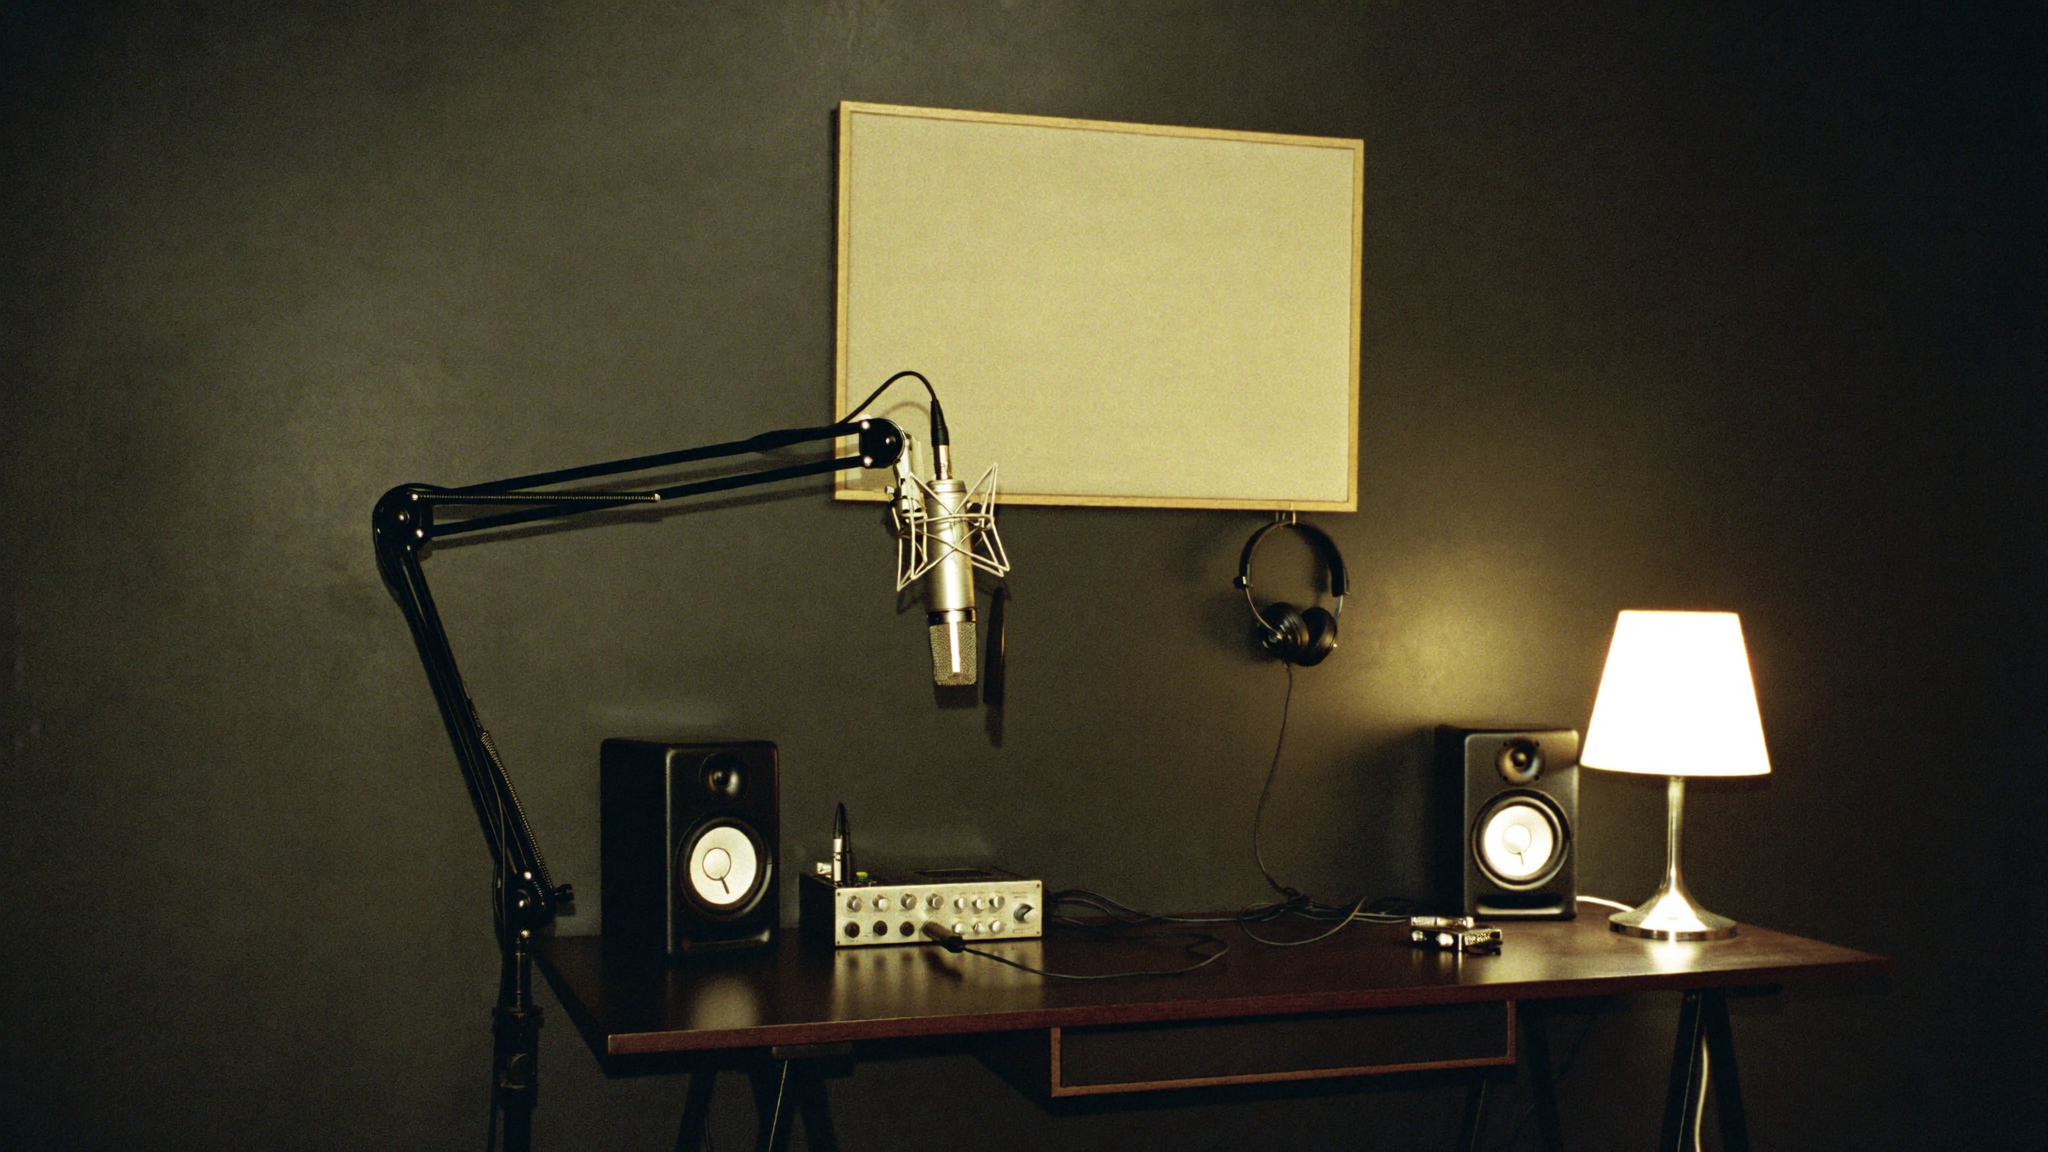
The gap between a $500 home studio and a $1,000 one is not better gear. It is a finished room.
At five hundred dollars you are making compromises and hoping they do not show up in the recording. At a thousand you can buy things that will still be in your room in five years, and you can afford to treat the space, which is the part that actually decides whether your vocals sound like a record or like a bedroom.
So this is not a menu of options in each category. It is one specific build. Every item, what it costs, why it is in there, and one popular microphone I deliberately left out even though it is the top pick in our own mic guide.
Disclosure: This article may contain affiliate links. If you use them, it supports AlwaysBeOG at no additional cost to you. Prices are approximate as of August 2026 and move constantly — check before you buy.
The build
| Item | The pick | Approx. | Why it is here |
|---|---|---|---|
| Microphone | Rode NT1 (5th Gen) | $260 | One of the quietest condensers made at any price |
| Audio interface | Focusrite Scarlett 2i2 (4th Gen) | $200 | Clean preamps, low latency, will outlast this build |
| Headphones | Audio-Technica ATH-M50x | $150 | The tracking standard for a decade for good reason |
| Acoustic treatment | Panels + corner absorption | $200 | The single biggest audible change in the whole list |
| Boom arm + shock mount | — | $60 | Keeps desk noise out of the take |
| Pop filter | — | $25 | Twenty-five dollars that fixes every plosive |
| XLR cable | — | $20 | Buy one decent one, stop thinking about it |
| Total | ~$915 | Leaves about $85 of headroom |
That is the whole thing. No monitors, and I will explain why.
Why the microphone is a Rode NT1 and not an SM7B
Our own microphone guide names the Shure SM7B as the top pick for rap vocals, and it deserves that. It is on an enormous number of records you love. So why is it not in this build?
Because the SM7B is a very quiet microphone. It needs a lot of clean gain to reach usable level, and entry-level interfaces have to be pushed close to maximum to get there. At that point you are not just amplifying your voice, you are amplifying the preamp’s own noise floor. The result is a hiss underneath everything you record.
The fix is an inline booster like a Cloudlifter or FetHead, which adds around 25dB of clean gain. It works. It also costs roughly $100 to $150, which means the SM7B is not a $400 microphone at this budget. It is a $525 microphone, and adding that to this build pushes you past a thousand dollars before you have bought a single acoustic panel.
The SM7B is the right mic later, when the budget is bigger or the interface is better. At this number the NT1 gives you a quieter recording for less money and no accessories.
This is what I mean about a build rather than a list. Individually good choices can be a bad combination.
Why $200 of the budget goes on the wall
This is the line item people cut first and it is the one they should protect.
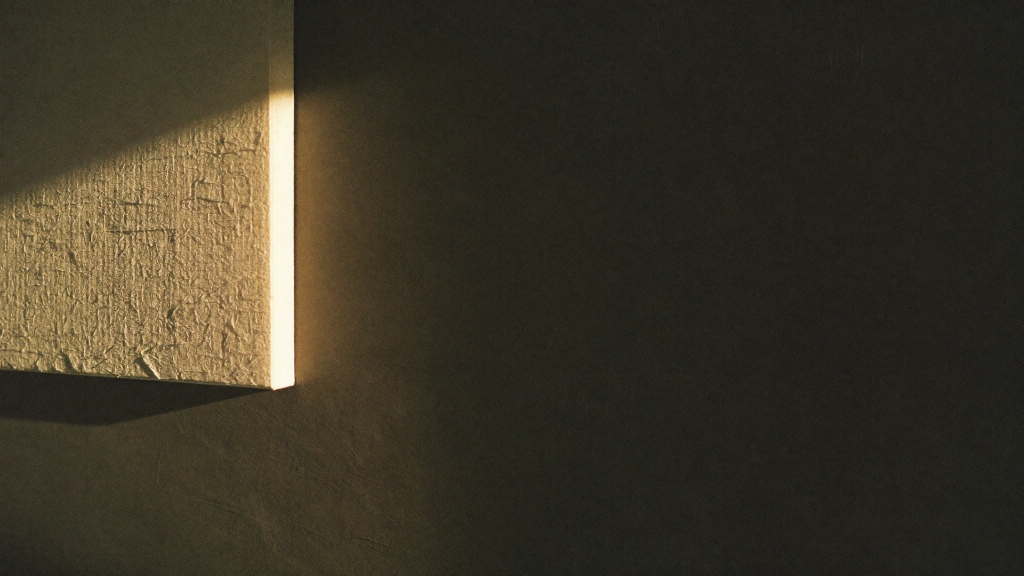
Your microphone does not only hear your voice. It hears your voice, plus your voice bouncing off the wall behind you, plus the flutter off the window and the hardwood floor, all arriving a few milliseconds late. That smear is what makes a home recording sound like a home recording, and no microphone upgrade removes it.
Two hundred dollars buys real absorption in the places that matter: behind you, in front of you, and in the corners where low frequencies pile up. I went through the physics of this in the room acoustics breakdown, but the short version is that this is the most audible two hundred dollars in the entire build.
One caution: thin foam tiles are not treatment. They do almost nothing below the frequencies that actually cause you problems. Buy proper thick panels with real density, or make them.
Why there are no studio monitors
Monitors are the most tempting thing to add and the least useful at this stage.
A pair of small monitors in an untreated bedroom tells you lies about your low end. You mix to what you hear, the mix sounds wrong everywhere else, and you conclude you need better monitors. You do not. You need a better room, and a treated room plus decent headphones gets you further than budget monitors ever will.
Add monitors later, after the room is handled. They will actually work then.
The tighter version, around $545
If a thousand is not available right now, here is the same shape for roughly half.
| Item | The pick | Approx. |
|---|---|---|
| Microphone | Audio-Technica AT2020 | $100 |
| Audio interface | Behringer U-Phoria UMC22 | $40 |
| Headphones | Audio-Technica ATH-M50x | $150 |
| Acoustic treatment | Panels, fewer of them | $150 |
| Arm, pop filter, cable | — | $105 |
| Total | ~$545 |
Notice what did not get cut: the headphones and the treatment. Those are the two things worth keeping at full spend, because they are the two you hear through on every session. If you want the fuller entry-level breakdown, we covered it in the under-$500 build.
If you cannot buy it all at once
Most people build this over months, not in one order. The sequence matters more than the total.
- Headphones. You cannot judge anything you cannot hear properly.
- Interface and a cheap mic. Enough to start recording immediately. Starting beats waiting.
- Treatment. The moment you have a working chain, this is the biggest available improvement.
- Boom arm, pop filter, decent cable. Cheap, and they remove a whole class of ruined takes.
- The better microphone. Last, when everything around it can show what it does.
Almost everyone runs that list backwards, buys the mic first, and then wonders why it did not sound like the demo video. The demo video was recorded in a treated room.
What not to put in this build
- Thin foam tiles. They look like treatment and do almost nothing where you need it.
- A mic more expensive than your room. The room is the ceiling on how good the mic can sound.
- An eight-input interface. You record yourself. Buy for what you actually do.
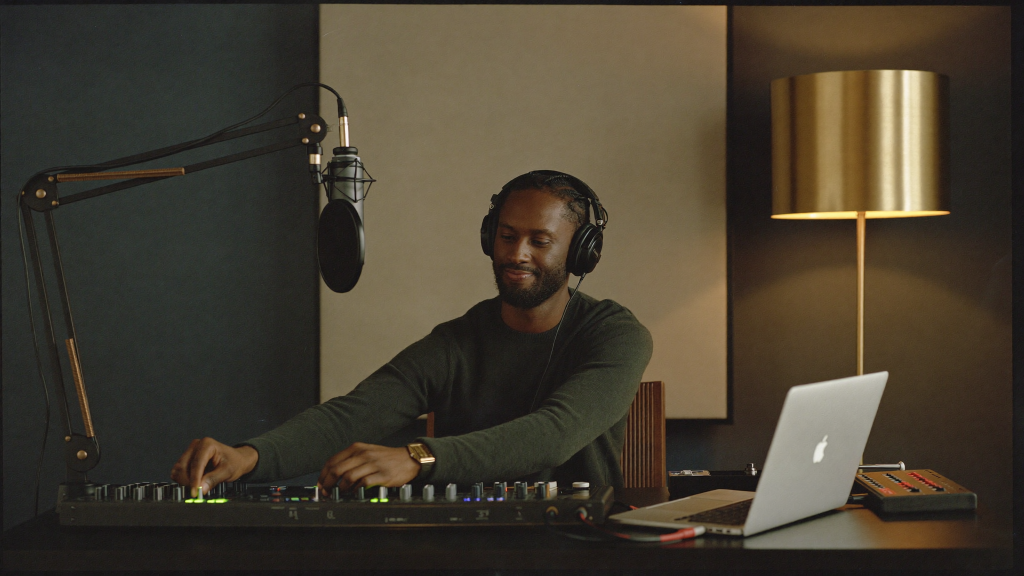
- A MIDI controller you have not needed yet. If you have been producing fine without one, it is a want. Wants are allowed, just not out of this budget.
- Expensive cables. A cable passes signal or it does not.
Frequently asked questions
Can you build a real home studio for under $1,000?
Yes, and comfortably. The build above comes to roughly $915 including acoustic treatment, and it will produce releasable vocal recordings. The limit at this budget is the room and your technique, not the equipment.
Do I need studio monitors?
Not at this stage. Budget monitors in an untreated room actively mislead you about low frequencies. Treated room plus good headphones first, monitors later.
Should I buy an SM7B for a home studio?
Only if you budget for the inline preamp it needs. The SM7B requires a lot of clean gain, and pushing an entry-level interface to maximum introduces audible hiss. Add roughly $100 to $150 for a Cloudlifter or FetHead when costing it out.
How much should I spend on acoustic treatment?
Around 20% of your total budget is a reasonable rule, which is the $200 in this build. It is the least exciting purchase here and the one you will hear most clearly.
Is a condenser or a dynamic mic better for rap vocals?
A condenser captures more detail and is usually the better choice in a treated room. A dynamic rejects more of the room and can be the smarter pick in an untreated one. Treat the room and the condenser wins.
The part that matters
A thousand dollars is enough. It has been enough for a while now, and it will be enough after the next round of gear releases too.
What separates records made in bedrooms that sound good from records made in bedrooms that do not is almost never the price of the microphone. It is whether somebody hung something soft on the wall, learned where to stand, and then did the take forty times.
Buy the list, or buy the cheaper list, and then stop shopping. The shopping is the fun part and it is also the part that is not making anything.
If you want to go deeper on any single piece: the interface guide, USB vs XLR, and room acoustics.
Order one thing off the list this week. That is the next right thing, and it is enough.